
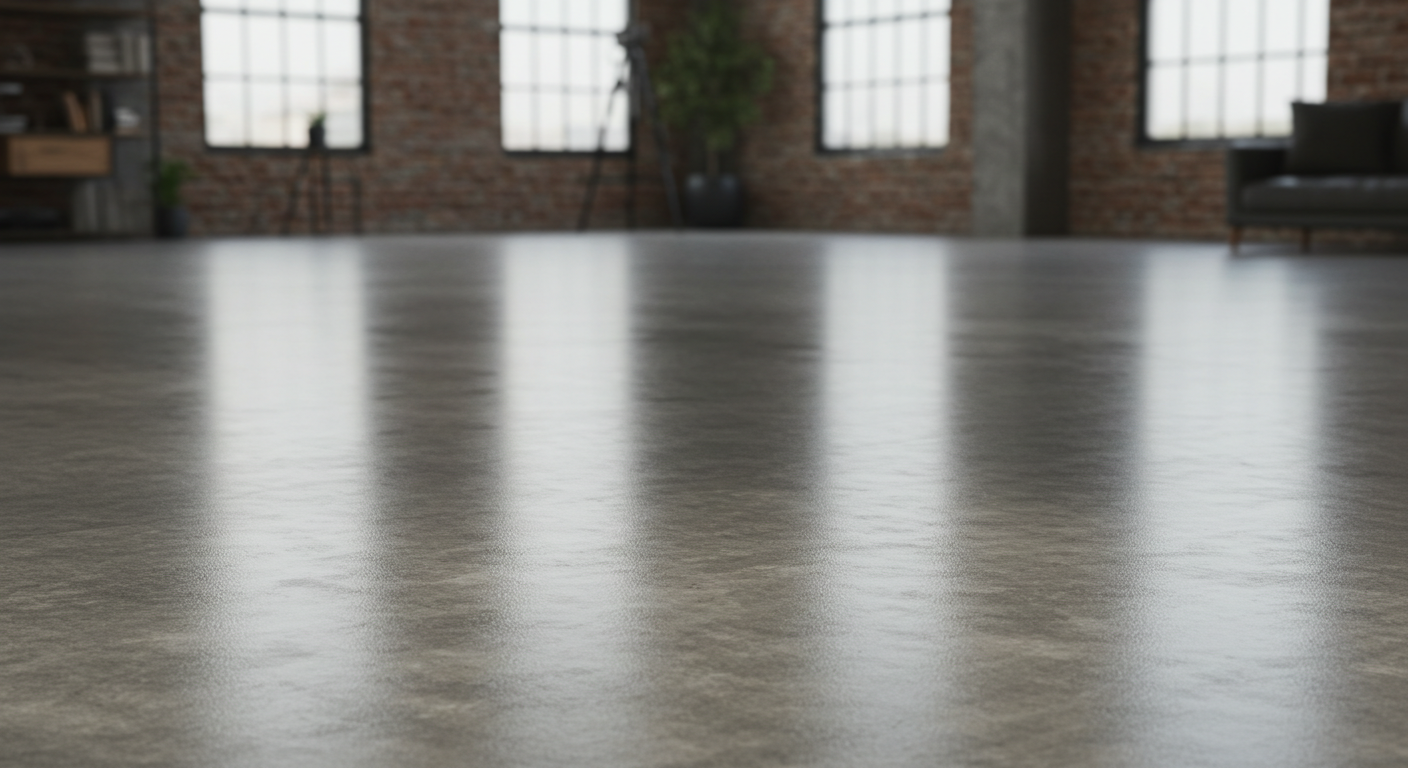
Concrete floors have been a favored choice in residential, commercial, and industrial spaces. Thanks to advancements in flooring technology, concrete floor polishing is now a popular technique for enhancing the durability, aesthetics, and maintenance of concrete surfaces. Whether you want a glossy finish for your garage, a sleek surface for your showroom, or a durable floor for your warehouse, polishing your concrete floor offers a cost-effective and long-lasting solution.
Today, we’ll break down everything you need to know about how to polish concrete floors, from tools and materials to step-by-step processes and maintenance tips.
Benefits of Polishing Concrete Floors
Before diving into the how-to, it’s helpful to understand why so many property owners choose polished concrete:
- Durability: Resistant to heavy foot traffic and mechanical wear.
- Low Maintenance: Requires minimal cleaning compared to carpet or tile.
- Eco-Friendly: Utilizes existing concrete slabs, reducing material waste.
- Cost-Effective: Lower lifetime cost due to durability and low upkeep.
- Aesthetic Flexibility: Customizable with dyes, stains, and design patterns.
Tools and Materials Needed for Concrete Floor Polishing
To polish concrete floors effectively, you’ll need the right set of tools and materials:
Tools:
- Concrete Grinder/Polisher: Planetary or rotary grinder with variable speed.
- Diamond Grinding Pads: Coarse to fine grit (16 to 3000 grit).
- Vacuum System: Industrial HEPA vacuum to control dust.
- Burnisher (optional): For high-gloss finishes.
- Hand Grinder (optional): For edges and corners.
- Water Tank or Hose: For wet polishing methods.
Materials:
- Densifier: Chemical hardener that reacts with the concrete to fill pores.
- Stain or Dye: For customized color effects.
- Sealant or Guard: To enhance stain and chemical resistance.
- Cleaning Supplies: Mop, neutral pH cleaner, microfiber pads.
Step-by-Step Guide to Polishing Concrete Floors
Step 1: Preparation
Start by preparing the floor to ensure a smooth and even polish.
- Clear the Area: Remove all furniture, equipment, and debris.
- Clean the Floor: Use a degreaser or mild cleaner to remove oil, grease, or stains.
- Inspect the Surface: Fill any cracks or holes with a concrete patching compound.
- Choose the Polishing Method: 1) Dry Polishing: More common, uses a vacuum system to capture dust. 2) Wet Polishing: Reduces dust but creates slurry that must be cleaned.
Step 2: Grinding
This is the most aggressive step and is crucial for removing old coatings and leveling the floor.
- Start with a Coarse Grit (16-40): Attach coarse diamond grinding pads to your grinder.
- Make Multiple Passes: Work in sections using overlapping patterns to ensure consistency.
- Edge Work: Use a hand grinder for corners and along walls.
Step 3: Densifying
Densifying strengthens the concrete and prepares it for finer polishing.
- Apply the Densifier: Use a sprayer or mop to apply evenly across the surface.
- Let It Cure: Allow it to dry as per the manufacturer’s instructions (typically 1-2 hours).
- Buff the Surface: Lightly buff with a fine pad to ensure even absorption.
Also Read: Concrete vs Epoxy Floors: Which Is Best for Your Commercial Space?
Step 4: Honing and Polishing
This stage brings out the desired level of shine and smoothness.
- Progress Through Finer Grits: Move from 80 to 400, 800, 1500, and up to 3000 grit pads depending on the finish you desire.
- Use Water for Wet Polishing: If using the wet method, spray water continuously and vacuum the slurry.
- Evaluate the Finish: For matte, stop at 400-800 grit. For a high-gloss, continue to 1500 or 3000 grit.
Step 5: Optional Staining or Dyeing
If you want to add color or design elements:
- Apply Concrete Stain or Dye: Use a sprayer or mop to apply the desired color.
- Let It Dry Completely: Most dyes dry within 1-2 hours.
- Reapply Densifier (if needed): To lock in color and improve hardness.
Step 6: Sealing and Burnishing
- While polished concrete is naturally resistant to many elements, sealing can offer extra protection.
- Apply Concrete Sealer or Guard: Choose a breathable sealer that enhances shine and protects against stains.
- Burnish the Surface: Use a high-speed burnisher with a diamond-impregnated pad for extra gloss.
Maintenance Tips for Polished Concrete Floors
Maintaining polished concrete is relatively simple but essential for longevity.
- Daily: Dry mop or sweep to remove dust and dirt.
- Weekly: Wet mop with a neutral pH cleaner to avoid degrading the polish.
- Monthly: Use a burnisher to restore shine if needed.
- Annually: Consider reapplying a sealer for high-traffic areas.
Common Mistakes to Avoid
- Skipping the Densifier: This can result in a weaker surface prone to dusting.
- Rushing the Grinding Phase: Insufficient grinding can leave visible flaws.
- Using Harsh Chemicals: Avoid acidic or ammonia-based cleaners that can dull the finish.
- Inconsistent Grit Progression: Jumping grits or skipping steps can lead to uneven polishing.
Get Expert Concrete Floor Polishing by PEC Floors
Transform your place with expert concrete floor polishing by PEC Floors. With years of experience and state-of-the-art equipment, PEC Floors delivers high-quality, durable, and visually striking polished concrete finishes for residential, commercial, and industrial properties. Whether you need a sleek, high-gloss showroom floor or a low-maintenance matte finish, our skilled technicians ensure precision and long-lasting results.
We tailor every project to meet your specific design and performance needs. Trust us to enhance your concrete surfaces with professional craftsmanship, top-grade materials, and unmatched attention to detail. Contact us today to schedule a consultation and elevate your floors with polished perfection.
